

Resistance Band Progressive Overload: The Complete System for Building Real Muscle at Home
Progressive overload with bands requires manipulating tension curves, body angles, and tempo—not just adding more bands—to drive continuous muscle adaptation.
This article is for general informational purposes only and is not a substitute for professional medical advice, diagnosis, or treatment. Always consult a qualified healthcare provider with questions about a medical condition.
Why So Many Band Sets End Up in a Drawer
Plenty of people buy a resistance band set, use it twice, and leave it tangled behind the winter coats. The problem usually isn't motivation—it's not knowing how to actually progress. Add another band? Stand further back? It feels like guesswork compared to the satisfying simplicity of adding plates to a barbell.
Yet the research on elastic resistance is encouraging. A 2019 meta-analysis of eight studies found that training with elastic bands and tubes produced strength gains similar to training with weight machines and dumbbells, across different populations and protocols (Lopes et al., SAGE Open Medicine). And a separate meta-analysis found that muscle growth was similar with light and heavy loads when sets were taken to muscular failure (Schoenfeld et al., 2017)—good news for lighter-load tools like bands.
The catch: bands only work if you apply progressive overload deliberately.
Why Traditional Progressive Overload Thinking Fails With Bands
Here's what nobody tells you when you buy a band set: the resistance curve is completely different from weights. A 30-pound dumbbell weighs 30 pounds at the bottom of a curl and 30 pounds at the top. A "30-pound" resistance band might provide 12 pounds at the start of the movement and 45 pounds at peak stretch.
This isn't a flaw. It's actually a feature—if you know how to use it.
Bands create what's called an ascending resistance curve: tension increases as the band stretches. In many exercises—presses, rows, curls—that means the load is highest near the end of the movement, where your muscles are often in their strongest mechanical position, and lowest at the start, where they are most lengthened.
But this also means you can't just "add more band" indefinitely. Stack too many bands and the starting position becomes impossible while the end position becomes manageable. You need smarter strategies.
The Four Pillars of Band Progressive Overload
Forget the simple "more weight = more muscle" equation. With bands, you have four distinct variables to manipulate. Master these and you'll have plenty of room to keep progressing.
Pillar 1: Anchor Point Distance
Step further away from your door anchor. Because band tension rises as the band stretches, starting with more stretch increases resistance across the whole set without touching your band selection. How much depends on the band, so if you want numbers instead of guesses, hook a luggage scale to the handle and measure the tension at marked distances.
Pillar 2: Band Stacking Strategy
When you do need more resistance, don't just grab the next heavier band. Combine a medium and a light band instead of jumping to heavy. This gives you a smaller increment than switching straight to the next band, which makes it easier to keep good form as the load rises.
Pillar 3: Angle Manipulation
A chest press with the band anchored at hip height hits differently than one anchored at shoulder height—the line of pull changes which part of the movement is hardest and which muscles do more of the work. That lets you progress the same exercise through several anchor positions before ever changing bands.
Pillar 4: Tempo Control
This is the variable most people ignore. A standard band chest press taking 2 seconds down and 2 seconds up lasts about 4 seconds per rep. Try 4 seconds down, a 2-second pause and 2 seconds up, and each rep takes 8 seconds—double the time under tension with the same band. Tempo can't replace adding load forever, but it's a useful way to make the same band harder and to build control.
A 12-Week Progression Example
Here's how this can work with a band chest press.
Weeks 1-2: Medium band, door anchor at chest height, standing 3 feet away. 3 sets of 12 reps, 2/0/2 tempo.
Weeks 3-4: Same setup, but step back to 3.5 feet from the anchor so the band starts more stretched. Still 3x12, same tempo.
Weeks 5-6: Same distance, add light band to medium band. 3x10 reps now (the jump in resistance means fewer reps initially).
Weeks 7-8: Same bands, introduce 3/1/2 tempo. Back to 3x12 as you adapt.
Weeks 9-10: Lower anchor point to hip height, creating more of an incline press angle. 3x10 with the new movement pattern.
Weeks 11-12: Step back again, now to 4 feet from the anchor. 3x8 with the accumulated resistance.
Twelve weeks. Same two bands. Six distinct progression phases—all in a living room.
The Tempo Manipulation Deep Dive
Tempo deserves its own section because it's so underutilized. The notation works like this: first number is the lowering phase (eccentric), second is the pause at the bottom, third is the lifting phase (concentric), fourth is the pause at the top.
So 3/1/2/0 means: 3 seconds lowering, 1 second pause, 2 seconds lifting, no pause at top.
Why does this matter for bands specifically? Because bands provide the least resistance where your muscles are most lengthened—the start of most presses and rows. Slowing the lowering phase keeps tension on the muscle through that range instead of letting the band snap you back.
Don't overdo it, though. A meta-analysis found that muscle growth was similar across repetition durations of about 0.5 to 8 seconds, while very slow reps (over 10 seconds) appeared inferior (Schoenfeld et al., Sports Medicine, 2015). A 2025 meta-analysis on eccentric duration likewise found no clear hypertrophy advantage for longer lowering phases. Use tempo for control and variety, not as a magic growth trick.
Here's a tempo progression you can apply to any band exercise:
- Beginner: 2/0/2/0 (4 seconds per rep)
- Intermediate: 3/1/2/0 (6 seconds per rep)
- Advanced: 4/2/2/1 (9 seconds per rep)
That advanced tempo turns a 10-rep set into 90 seconds of continuous tension. Your muscles will be screaming by rep 6.
Common Mistakes That Kill Your Progress
These are the most common traps.
Mistake 1: Chasing the burn instead of tracking progression. Bands create an incredible pump and burn sensation. It feels like you're working hard. But feeling and progressing are different things. Without systematically increasing demands, months can pass with no measurable change.
Mistake 2: Ignoring the starting position. If you can't control the band at the beginning of the movement, you've gone too heavy. Stepping so far from the anchor that each rep becomes a controlled fall is momentum, not muscle.
Mistake 3: Rushing through the easy part. The first half of a band movement is the easy part. Most people blast through it to get to the "hard" part. But that easy part is exactly where you need to build control and time under tension. Slow down precisely when it feels unnecessary.
Mistake 4: Never deloading. Every 4-6 weeks, drop back to your week 1 setup. Lighter bands, slower tempo, focus on perfect form. Your joints need recovery even if your muscles feel fine. Band training creates different stress patterns than weights, and the constant tension can accumulate fatigue in ways you don't notice until something hurts.
Building Your Weekly Structure
Here's a practical weekly setup that allows for progressive overload across multiple movement patterns:
Day 1 - Push Focus Band chest press (horizontal anchor), band overhead press (low anchor), band tricep pushdown (high anchor). Apply your current progression phase to each.
Day 2 - Pull Focus Band rows (mid anchor), band face pulls (high anchor), band bicep curls (low anchor or standing on band).
Day 3 - Legs Band squats (standing on band), band Romanian deadlifts (standing on band), band leg curls (low anchor, lying down).
Repeat this sequence with at least one rest day between rounds. That gives you each muscle group twice per week; a meta-analysis found that training a muscle at least twice weekly produced more growth than once weekly (Schoenfeld et al., Sports Medicine, 2016).
Progression happens within each exercise independently. Your chest press might be in week 6 of its progression while your rows are in week 3. Track each movement separately.
The Equipment You Actually Need
You don't need a $200 band system. Here's the minimum viable setup:
- One light band (typically 10-35 pounds tension range)
- One medium band (typically 30-60 pounds tension range)
- One heavy band (typically 50-120 pounds tension range)
- A door anchor (the $8 foam ones work fine)
- A way to measure your distance from anchor (I use tape marks on my floor)
Total investment: about $45. The distance markers are crucial—without them, you're guessing at your anchor point distance and can't reliably progress.
Optional but helpful: a luggage scale to actually measure band tension at different distances. This turns guesswork into data, and an inexpensive one is enough.
When Bands Aren't Enough
Let's be honest about limitations. At some point, many people will need additional tools to keep progressing. Muscle growth can occur across a wide range of loads, but in a meta-analysis, gains in one-rep-max strength were greater with heavy loads—so if lifting heavy is your goal, bands alone have limits.
Signs you might be reaching band limits:
- You're using all your bands stacked and still completing 15+ reps easily
- You've exhausted angle and tempo progressions
- Strength gains have completely plateaued for 8+ weeks despite good recovery
At this point, consider adding a weighted vest for lower body work, or investing in heavier specialty bands. Some people add a single adjustable dumbbell to complement their band work. You don't need a full gym—just one or two additional loading tools.
But most people never reach this point. They quit long before because they didn't understand how to progress with what they already had.
Making It Stick
A simple setup helps: a hook on a door with your working set hanging ready, the anchor left attached, and a note on your phone with your current progression phase for each exercise.
The difference between equipment that changes your body and equipment that collects dust isn't the equipment. It's having a system that tells you exactly what to do today that's slightly harder than what you did last week.
Progressive overload with bands isn't intuitive. But once you understand the four pillars—distance, stacking, angles, and tempo—you have years of progression available without ever buying another piece of equipment. That's not a compromise. That's freedom.
📊 Key Stats
Band Progressive Overload Methods Compared
| Method | How It Raises Difficulty | Best For | Frequency of Use |
|---|---|---|---|
| Anchor Distance | Starting with more stretch raises tension through the whole rep | Weekly micro-progressions | Every 1-2 weeks |
| Band Stacking | Adds load in smaller steps than switching to the next band | Bigger load jumps | Every 3-4 weeks |
| Angle Changes | Shifts where the movement is hardest and which muscles work more | Breaking plateaus, variety | Every 4-6 weeks |
| Tempo Manipulation | More time under tension (e.g., 4 s → 8 s per rep) | Control, making the same band harder | Every 2-3 weeks |
Each method serves different progression needs. Combine them systematically rather than randomly; there is no single proven schedule.
❓ Frequently Asked Questions
How do I know when to progress to the next phase with resistance bands?
Can I build significant muscle with only resistance bands?
How many resistance bands do I need for effective progressive overload?
Why do my band workouts feel hard but I'm not seeing results?
How often should I do resistance band workouts for muscle building?
What's the most underutilized progression method with bands?
Should I take deload weeks with resistance band training?
What is HAVIT?
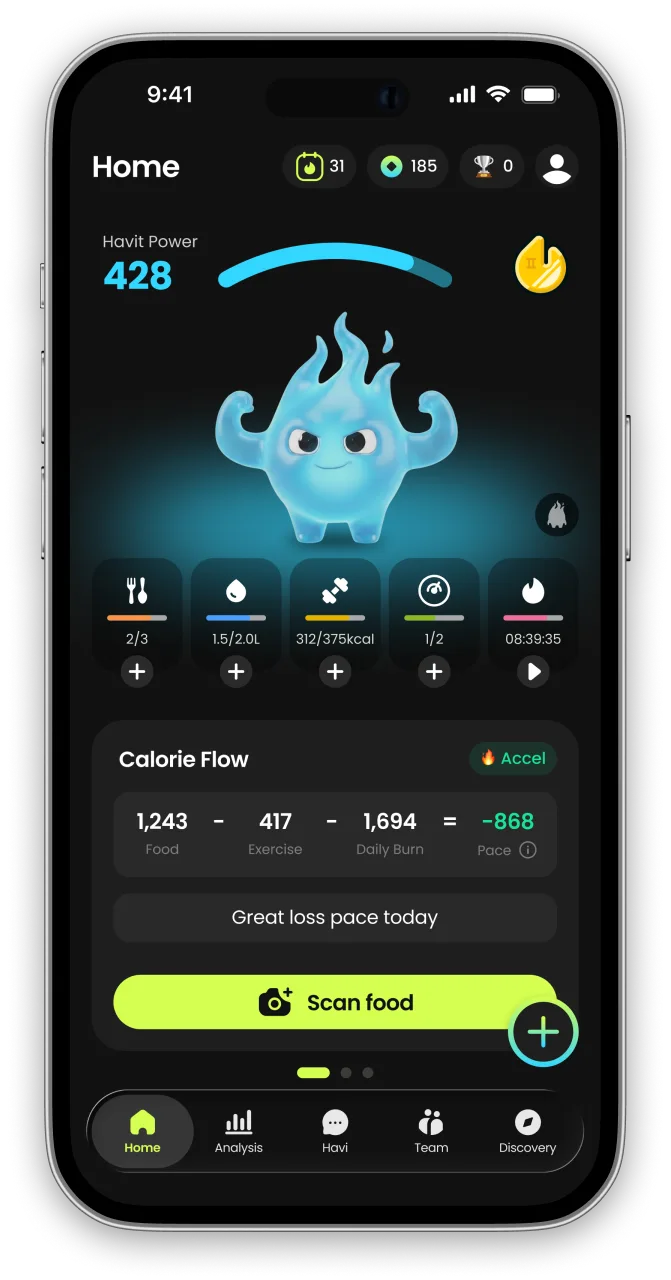
HAVIT is an AI health partner built on metabolic science — it protects your muscle, wakes up your metabolism, and helps you keep a healthy, rebound-free body for the long run.
Unlike calorie-only trackers, HAVIT connects AI body-composition estimates, nutrition, hydration, sleep, steps, cycle, mood, and GLP-1 medication in one daily routine — so progress is measured by body composition, not just the number on the scale. Daily missions turn established behavior-change techniques into small repeatable actions, drawing on expertise from professionals formerly at Juvis Diet, one of Korea’s leading metabolic clinics.
In HAVIT’s own analysis of 1,090 GLP-1 users, people who logged consistently built stronger habits than the general user base. Read the GLP-1 Habit Report
Inside the app
- AI COACHA coach that reads your day.
- NUTRITIONLog meals in seconds.
- BODY INSIGHTSSee more than weight.
- DAILY MISSIONSBuild habits you can repeat.
- DAILY CHECK-INTell HAVI how today feels.
- TRACK EVERYTHINGFrom water to GLP-1
- MIND & RECOVERYFor the days willpower runs out.


HAVIT works with or without GLP-1 medication. It is a wellness app, not a medical device; body-composition results are estimates.
Continue in the App
Personalized wellness with your own data


References
- Effects of training with elastic resistance versus conventional resistance on muscular strength: A systematic review and meta-analysis — SAGE Open Medicine, 2019
- Effects of a short-term resistance program using elastic bands versus weight machines for sedentary middle-aged women — Journal of Strength and Conditioning Research, 2008
- Strength and Hypertrophy Adaptations Between Low- vs. High-Load Resistance Training: A Systematic Review and Meta-analysis — Journal of Strength and Conditioning Research, 2017
- Effect of repetition duration during resistance training on muscle hypertrophy: a systematic review and meta-analysis — Sports Medicine, 2015
- The effect of eccentric phase duration on maximal strength, muscle hypertrophy and countermovement jump height: A systematic review and meta-analysis — Journal of Sports Sciences, 2025
- Effects of Resistance Training Frequency on Measures of Muscle Hypertrophy: A Systematic Review and Meta-Analysis — Sports Medicine, 2016


